Good day!
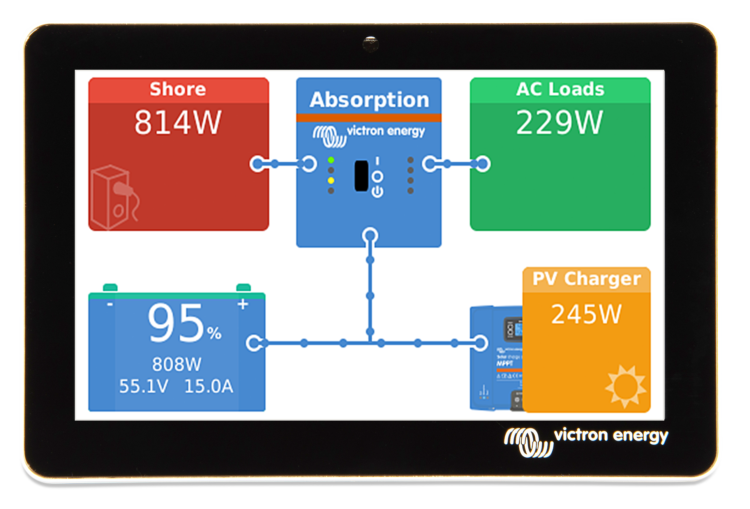
Already back in early April, we launched Venus OS versions 2.65 and 2.66. In this blog I’ll detail all the highlights. A link to the full changelog can be found at the end of this post. For those not familiar with Venus OS: Venus OS is the software running on our Cerbo GX monitoring system, as well as its predecessors the Color Control GX, Venus GX and others.
#1 – Remote firmware updates for our Inverters and Inverter/chargers
This is a new feature which many distributors and installers have been looking forward to for a long time: being able to remotely update the firmware of our Inverter/chargers as well as Inverters:. Meaning Multis, Quattros, MultiPlusses, MultiPlusses-II, EasySolars and other similar products.
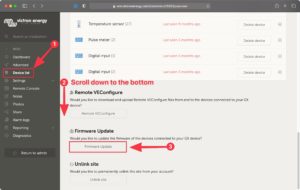
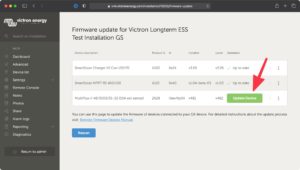
The process is very similar to the already existing firmware update features for other products. On the VRM portal, go to Device List, then click “Firmware updates”, after which the portal does a scan, looking for all connected products. Here is an example of the result:
(click each picture to see it enlarged)
The VRM Portal has a library with all the latest firmware versions, and it will show which products are updateable.
Clicking the green button will first show a series of warnings and things to look out for; and finally the update process will start. To transfer the configuration, the process needs to be done from a Windows computer, having the VE.Bus Configuration Tools installed.
Full details and documentation are available, as well as a step by step video here – Remote VE.Bus firmware update manual.
Now, end of May, we can say with confidence that the feature works very well and is proven to be robust.
#2 – Support for the new GX Tank 140
The GX Tank 140 is a new USB accessory for our range of GX system monitoring products. It allows the GX device to take readings from four additional tank level sensors per GX Tank 140.
While the Cerbo GX is able to natively receive from resistance type senders, the GX Tank allows your to connect current-type senders (4 to 20 mA) as well as voltage-type senders (0 to 10 V).
An averaging filter feature has been added (adjustable 1-60 seconds) to dampen fluid movement readings. This is available for GX Tank, and also for other already existing tank inputs, such as the four built-in resistive inputs in the Cerbo GX.
Please note the new tank display screen shown in the product page is still to come in a future Venus update.
Another improvement for the marine market is improved scaling with the html5 display MFD integration. It now expands to use all the screen space available.
#3 – Full support for MPPT RS
The new MPPT RS 100A and 200A models are now fully supported, including DVCC for supported managed batteries, and seeing individual tracker data on VRM.
#4 – Additional Features for supported managed batteries
BSLBatt compatibility added
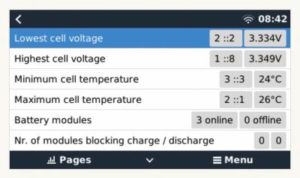
This newly supported BSLBATT battery features full support for the Victron BMS-Can specification, showing more detailed cell level information from the battery in the GX device. A very useful feature for remote technicians.
Ability to override automatic DVCC voltages when troubleshooting
There is a new feature that allows technicians to reduce the target charge voltage for managed batteries. This will be a welcome new feature for remote off grid installers if there is a cell level imbalance in a managed battery bank, and can temporarily allow normal operation (with reduced capacity) until the battery is able to balance itself. This situation is most common during commissioning, since some battery makes require an initial “balancing charge”.
#5 – Some nice enhancements to the menus
It is now possible to manually sort the device list, and also to remove disconnected devices from the display.
A new warning ‘#49 Grid meter not found’ has been added – this should help in some cases to diagnose why an ESS system is in passthru mode.
How to update and conclusion
Besides the items above, there are many more changes. All rather minor and related to certain specific situations or systems. To read them, find the full change log by logging into Victron Professional and selecting ‘Firmware’.
Information about how to install the firmware is in the manual of your GX Device. Quick links to the relevant pages: Cerbo GX, Color Control GX and for the Venus GX.
That’s it for now, all the best!
Matthijs Vader





 #victronenergy #adventure
 ELECTRICS
