To enter the configuration mode, press the button on the back of the control panel for about 4 seconds until the bottom LED in the right column starts blinking, indicating that the first parameter can be changed.
To change the value of a parameter, turn the knob until the displayed value is as required.
Press the configuration button to advance to the next parameter.
Pressing the configuration button, after the last parameter is selected, will exit configuration mode and activate all parameters. So even if only one parameter needs adjustment, you will have to go through all parameters.
When the configuration button is pressed, or during configuration, the inverter/charger(s) will switch to "Inverter only" mode.
The lower three LEDs in the left column on the control panel indicate which parameter is being adjusted according to the table below:
Menu item | LEDs | Parameter | Default | Range |
|---|---|---|---|---|
1 | 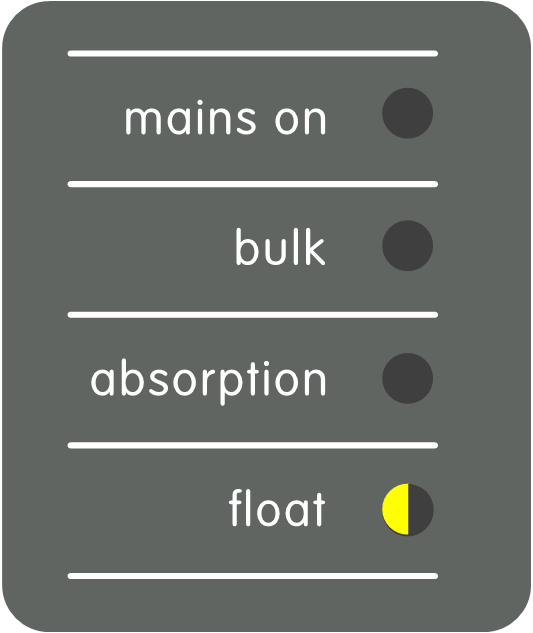 | Scaling factor | 0 | 0 - 9 |
2 | 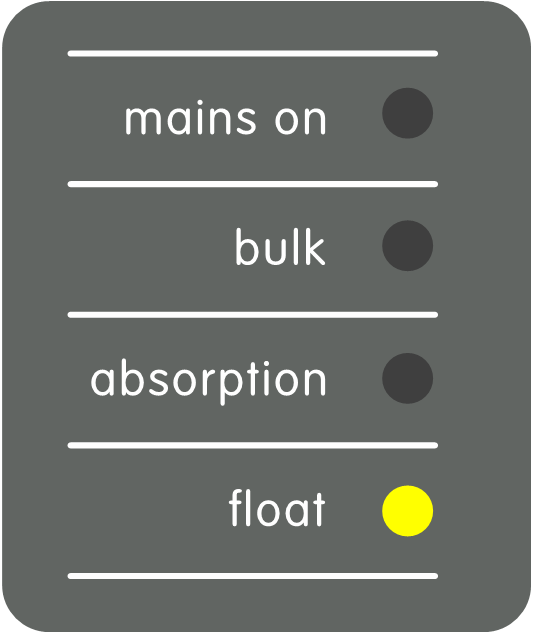 | Generator current (A) | 16 | 0 - 198 |
3 | 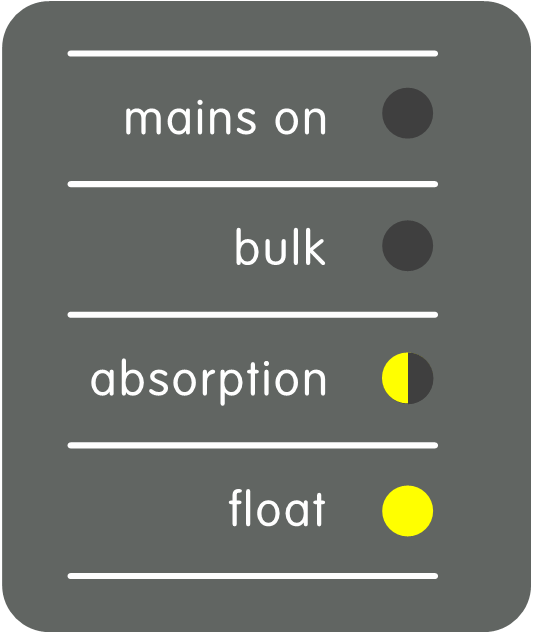 | Upper AC current limit for AC1 input (A) | 254 | 0 - 254 |
4 | 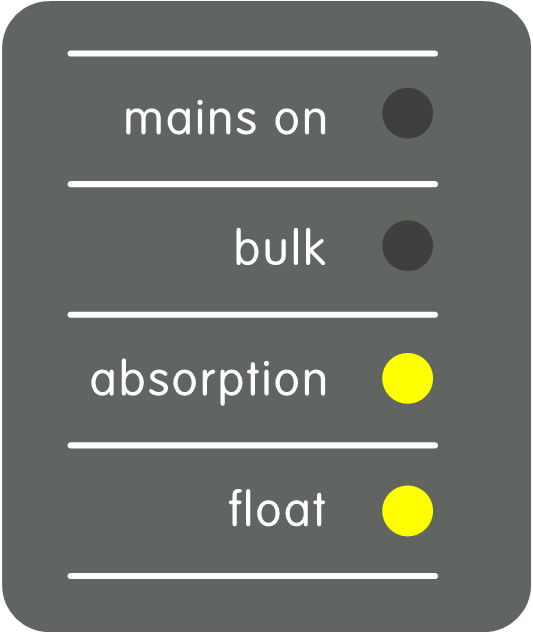 | Upper AC current limit for AC2 input (A) | 254 | 0 - 254 |
5 | 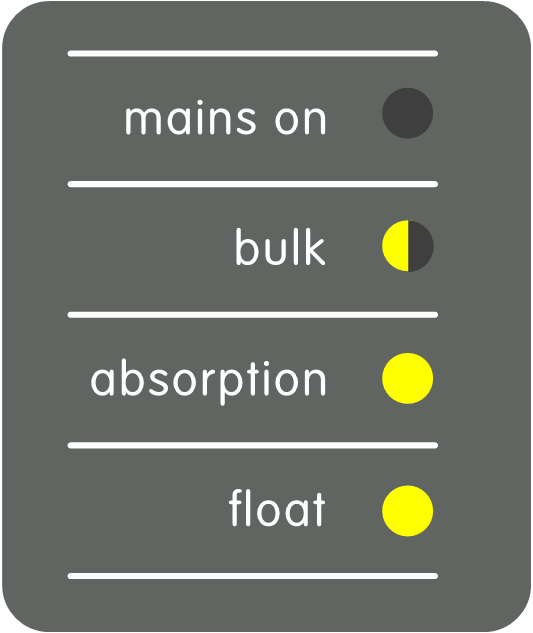 | Upper AC current limit for AC3 input (A) | 254 | 0 - 254 |
6 | 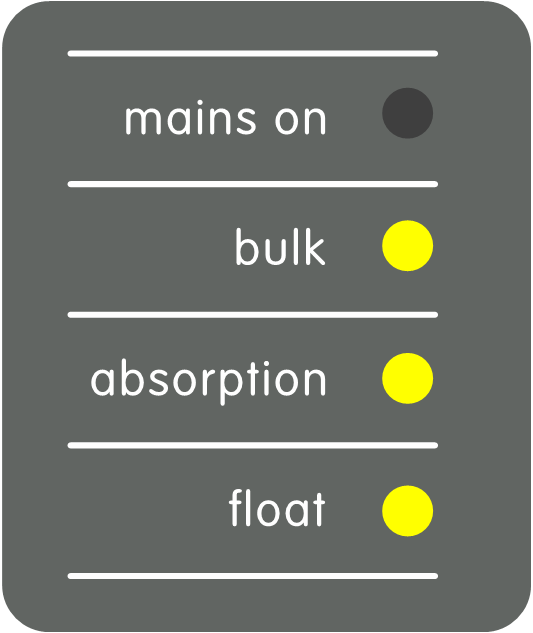 | Upper AC current limit for AC4 input (A) | 254 | 0 - 254 |
 = LED is off,
  = LED is blinking,
  = LED is on
Notice
This parameter only applies to pre-VE.Bus systems. Leave it at its default value of 1 for VE.Bus systems.
For legacy pre-VE.Bus systems, refer to the Pre-VE.Bus scaling factor chapter.
Notice
This parameter only applies when an external transfer switch is used and has no impact otherwise.
The generator AC current limit can be adjusted within the range of 0 to 198A, with increments of 2A.
When configuring the generator AC current limit, be aware that not all generators can operate at full load. Particularly, smaller 3000 rpm generators from certain brands can overheat during extended full-load operation, and the maximum current should be less than the rated maximum, while the AC current limit for 1500 rpm generators can be set higher.
For 3000 rpm generators, set to 70% of their rated maximum.
For 1500 rpm generators, set to 90% of their rated maximum.
To prevent overly high AC input current limits, the control panel provides an upper AC input limit adjustment. For instance, when dealing with large or multiple inverter/chargers working in parallel, the maximum feed-through current might exceed the AC supply or circuit breaker capacity. Modifying the upper AC input current limit ensures the shore current limit remains within a specific range.
An extended VE.Bus system can have up to four AC inputs. Yet, a basic VE.Bus MultiPlus system has one AC input. As such, only the upper limit for AC input 1 needs to be configured. The other AC input limits can be safely ignored.
Consider this scenario:
You have an inverter/charger system with two AC inputs, namely generator and shore power. You want to prioritise the generator over shore power. You connect the generator to AC input 1 and shore power to AC input 2. You do not want the user to alter the generator AC input limit, so in the inverter/charger settings, you disable the "overruled by remote" setting for AC input 1, and enable it for AC input 2.
The control panel will behave as follows:
When the generator is active, the control panel displays "AC1".
When the generator stopped and shore power is active, the panel alternates between displaying "AC2" and the current limit for AC2. Yet, this alternating display might not match your preferences.
To resolve this:
A simpler approach is to show just the current limit value when AC input 2 is active. This is enough to indicate the switch to shore power. To achieve this, set all but one of the upper AC input limit parameters to zero. In this example, the limits for AC1, AC3 and AC4 should be set to zero. This adjustment eliminates the unwanted alternating behavior.
This setting exists in the inverter/charger. When enabled, the control panel can modify the AC input current limit, and when disabled, it can not.
In the case of a Quattro, both inputs have an "overruled by remote" setting and are independently configurable.
For details on configuring "overruled by remote," consult the inverter/charger manual.
Two examples are given to help you understand the setting of the parameters.
Because this is a VE.Bus system, the scaling factor does not need to be set.
A 4kVA generator can supply a maximum current of 17.4A. Using a 70% safety margin, we will set the generator current to 12A.
To set the configuration, do the following:
Press and hold the configuration button until the bottom LED in the left column starts flashing. This means you entered the configuration mode, and you can change the scaling factor. As said, this parameter can be ignored in the case of VE.Bus Multis.
Press the button to go to the next setting. The lower left LED will turn on, indicating that the generator current can be set.
Turn the knob until the display indicates 12.
Press the button to advance to the “Upper Shore limit for AC input 1” setting.
If you want the maximum shore current the operator can set to be lower than 32A, you can change this value.
Since the next 3 parameters (Upper Shore limit for AC input 2, 3 and 4) do not need to be configured, you can press the button 4 times to step through the settings and finalise the configuration.